First-run wizard
First-run wizard
The first time anyone hits your Pollen8 URL, they’re greeted by the setup wizard. The person who completes it becomes the first app admin for the deployment.

Step 1 — Tenant identity
- Tenant name — the display label that shows on the navbar and in emails. You can change it later under Admin → System → Identity.
- Industry — drives the Prompt Studio template library and the default tone Pollen8 uses out of the box.
Step 2 — Admin account
- Email — used for sign-in. Must be deliverable; Pollen8 sends one-time codes (OTPs) here.
- Password — minimum length is enforced. You can swap to a passkey later under Account → Sign-in.
Step 3 — Storage import
Paste the JSON the bootstrap script printed (AWS) or the deployment outputs (Azure) into the Storage Import field. Pollen8 verifies it can list the bucket and write a small probe object before continuing.
If the probe fails:
- Verify the runtime credentials are correct
- Verify the bucket is reachable from the cluster (security group, VNet)
- Verify the IAM/MI has the required permissions
Step 4 — AI provider
Pick one AI provider for the initial setup. You can add more later under AI providers.
| Provider | What you need |
|---|---|
| OpenAI | API key |
| Azure OpenAI | Endpoint + API key + deployment name |
| Anthropic | API key |
| Bedrock | IAM role with bedrock:InvokeModel |
| Google Vertex | Service account JSON |
Pollen8 validates the credentials by issuing a single short prompt. If it fails, the wizard surfaces the provider’s error verbatim.
Step 5 — Done
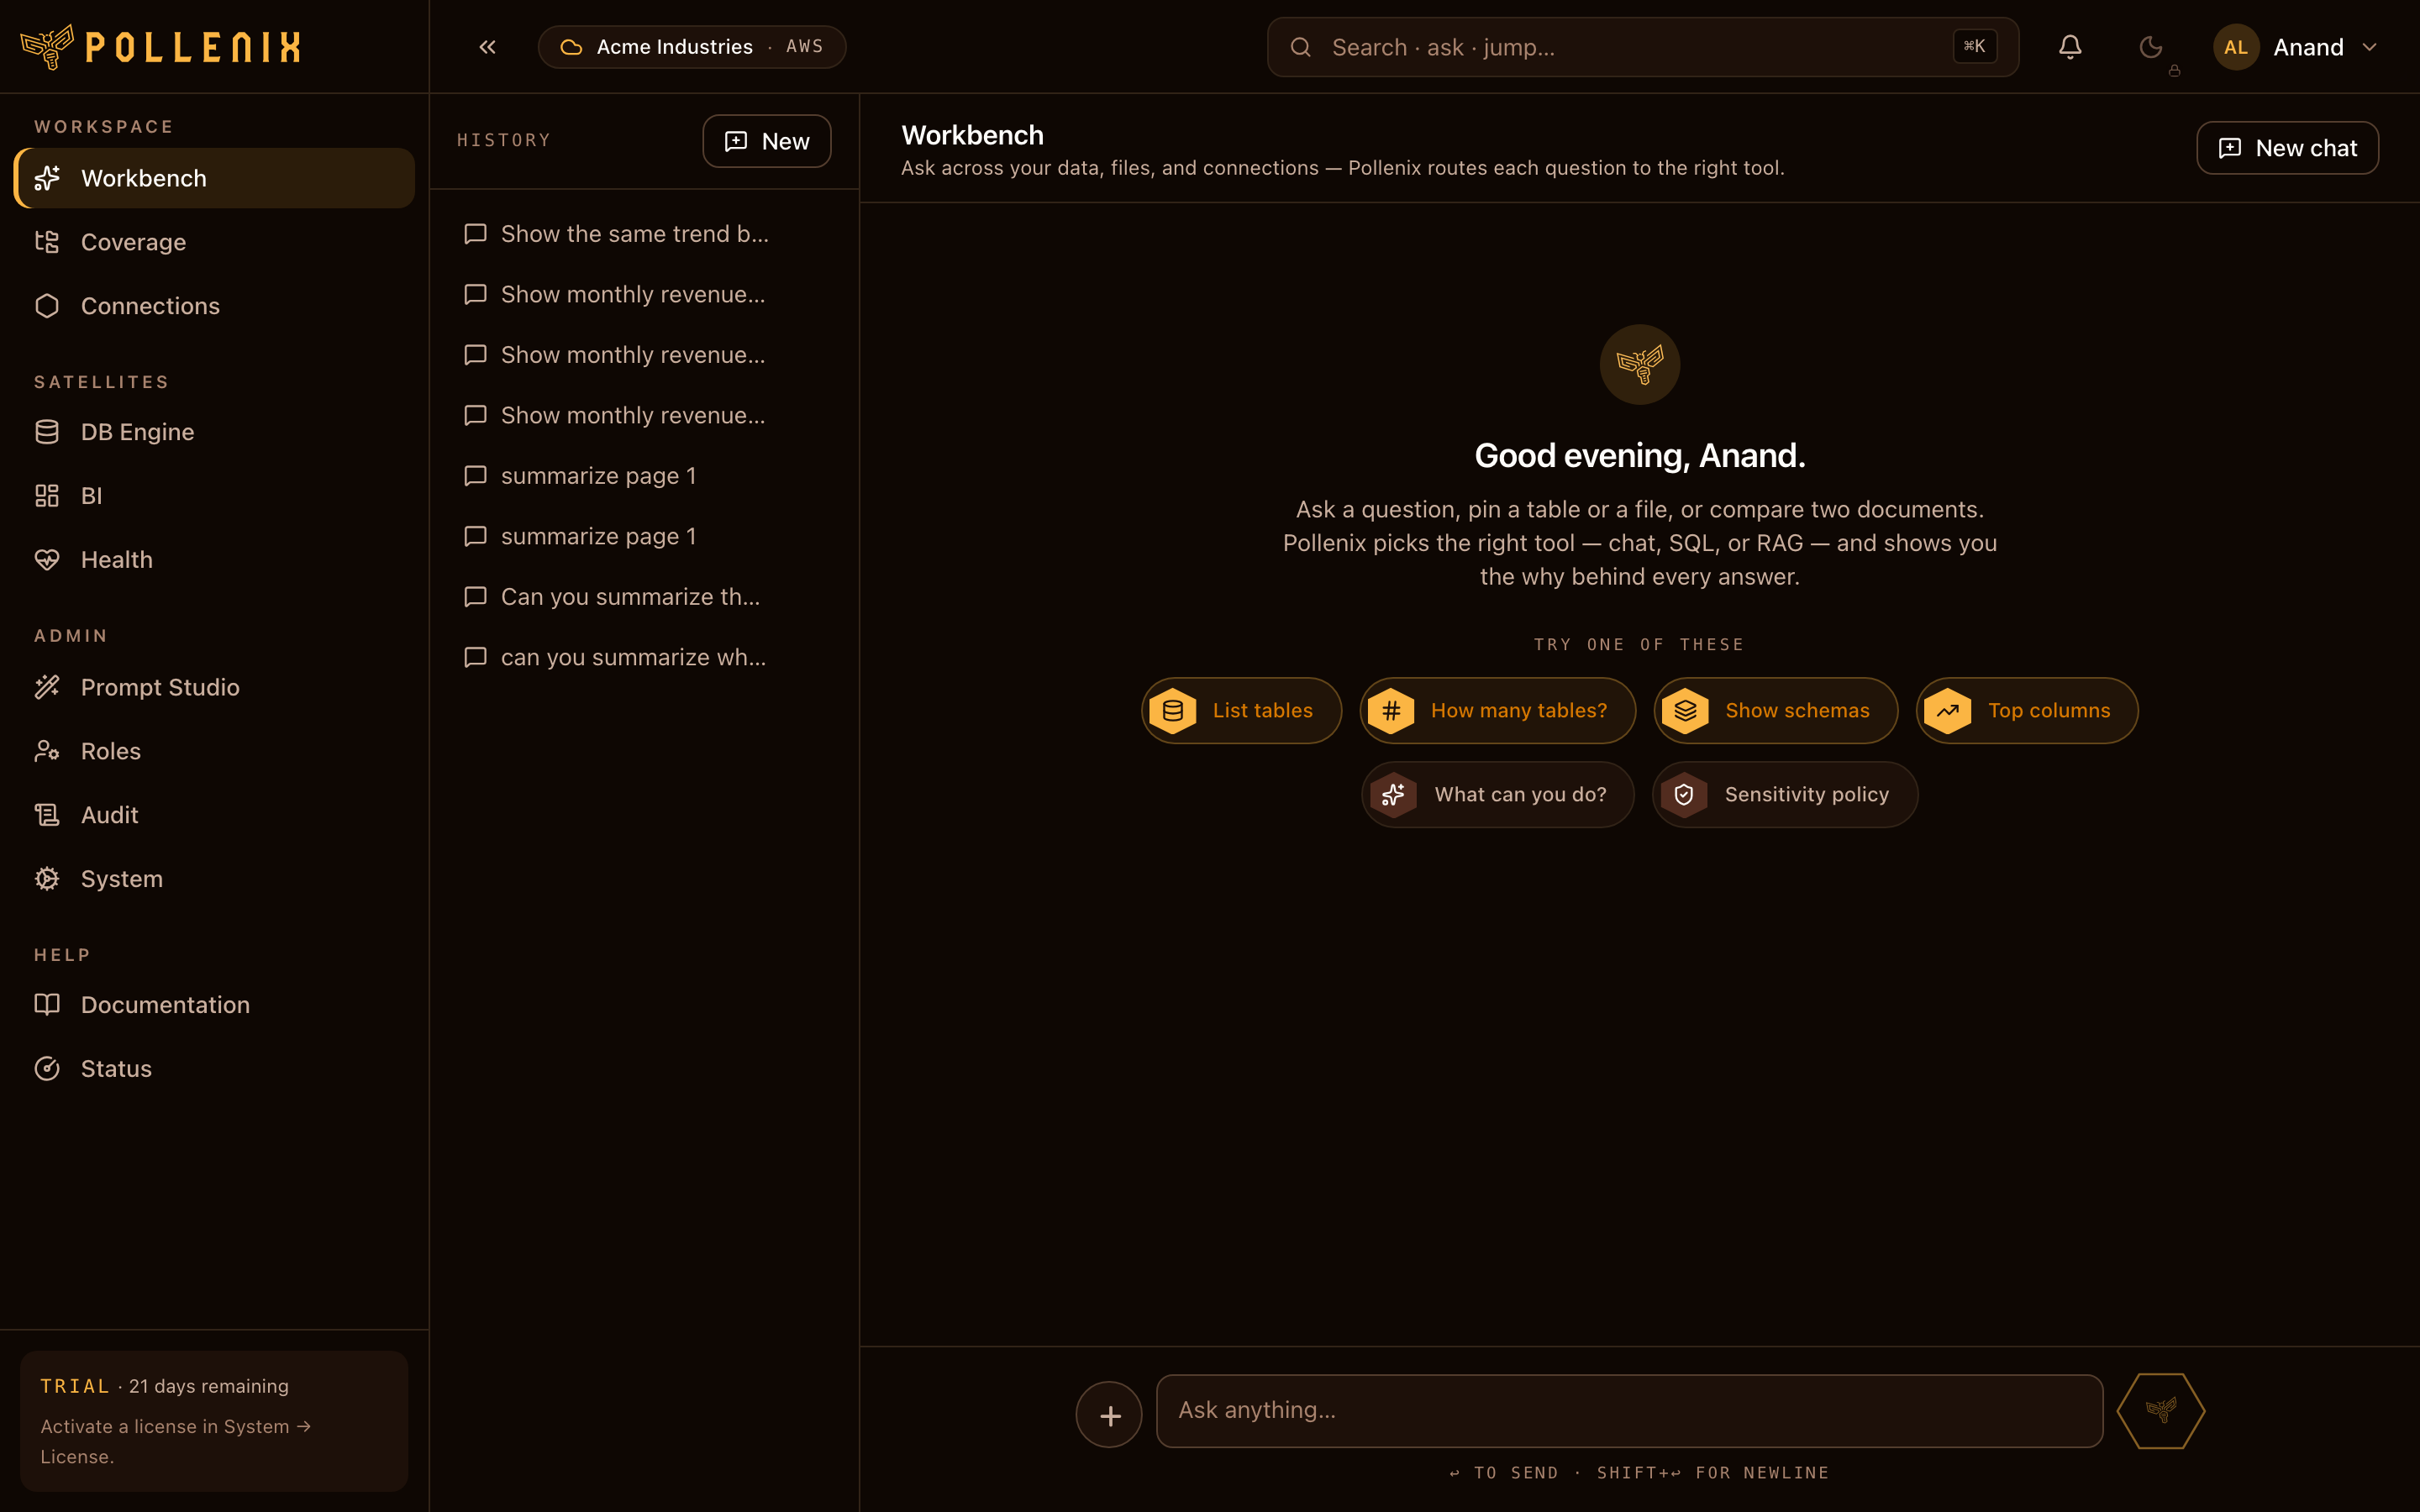
You land on the Workbench. First chat answer takes a few seconds extra while the PII engine initializes; subsequent answers are sub-second.
Next steps:
- Add a DB connection so the Workbench can answer questions over your databases — Connections.
- Upload your first file into Coverage — Upload.
- Set up a sensitivity policy — PII policy.